Understanding Vinyl Fence Installation
Vinyl fence installation transforms the boundaries of a property into a secure and visually appealing space. Vinyl fences offer durability, low maintenance, and resistance to weather, making them a popular choice for homeowners.
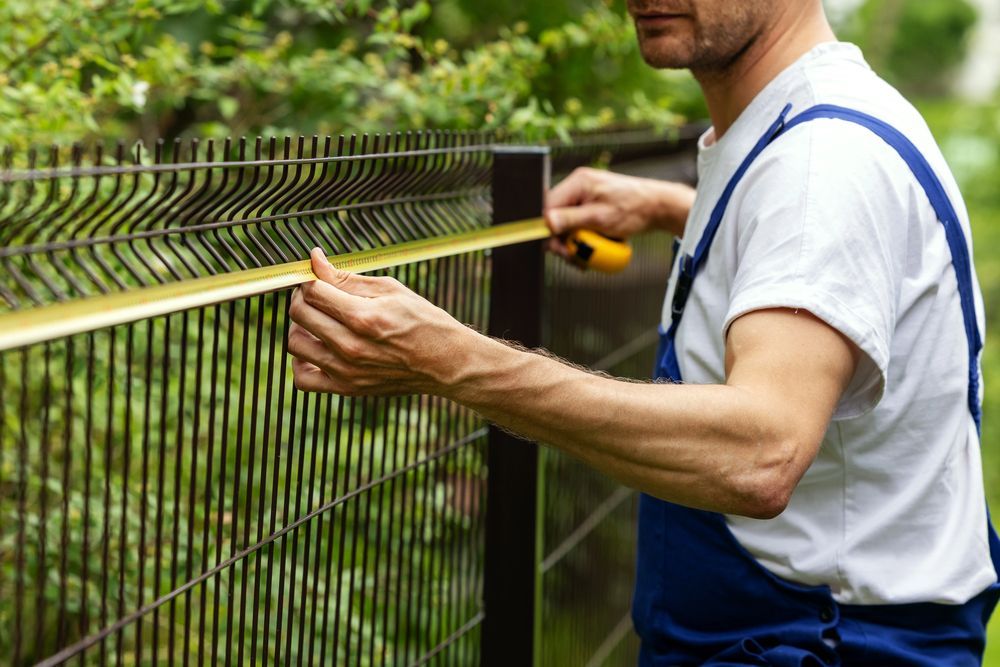
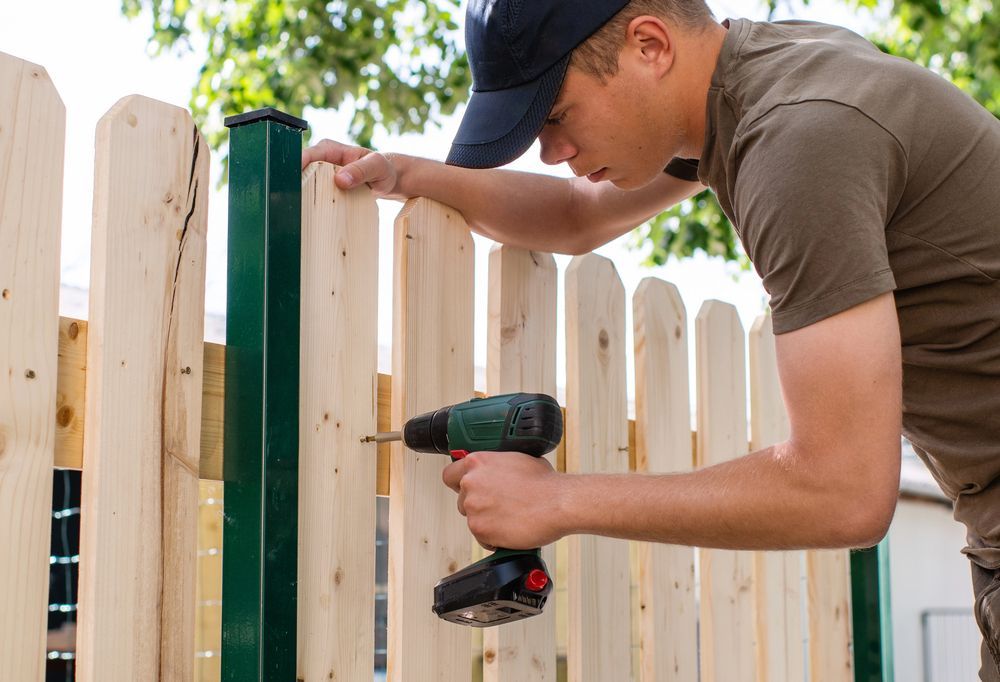
Installing a vinyl fence requires careful planning, precise measurements, and attention to detail. From selecting materials to setting posts and attaching panels, each step impacts the fence’s longevity and performance.
Tools Needed for Vinyl Fence Installation
Successful vinyl fence installation starts with gathering the proper tools. Stakes, ropes, a tape measure, and a level maintain accurate alignment. Vinyl panels and posts form the framework, while a post hole digger or power auger helps dig efficiently.
Concrete and gravel secure posts in place, and a vinyl gate kit adds access points where needed. Having all tools ready before beginning prevents delays and keeps each stage of work smooth and organized.
Preparing for Vinyl Fence Installation
Checking Local Regulations and Permits
Before any installation, verify local regulations and permit requirements. Municipal rules often control fence heights, with front yards usually limited to four feet and backyards to six feet. If your property belongs to a homeowners’ association, review their guidelines.
Permits may be required for construction. Planning ahead avoids complications during installation and prevents the need for adjustments after the fence is complete.
Choosing a Vinyl Fence Style
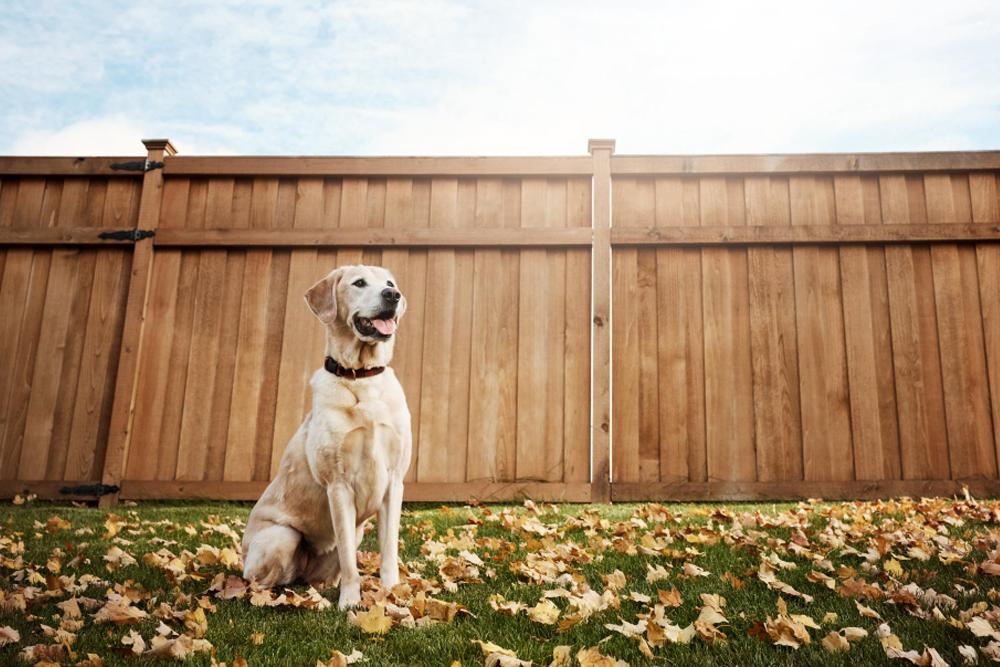
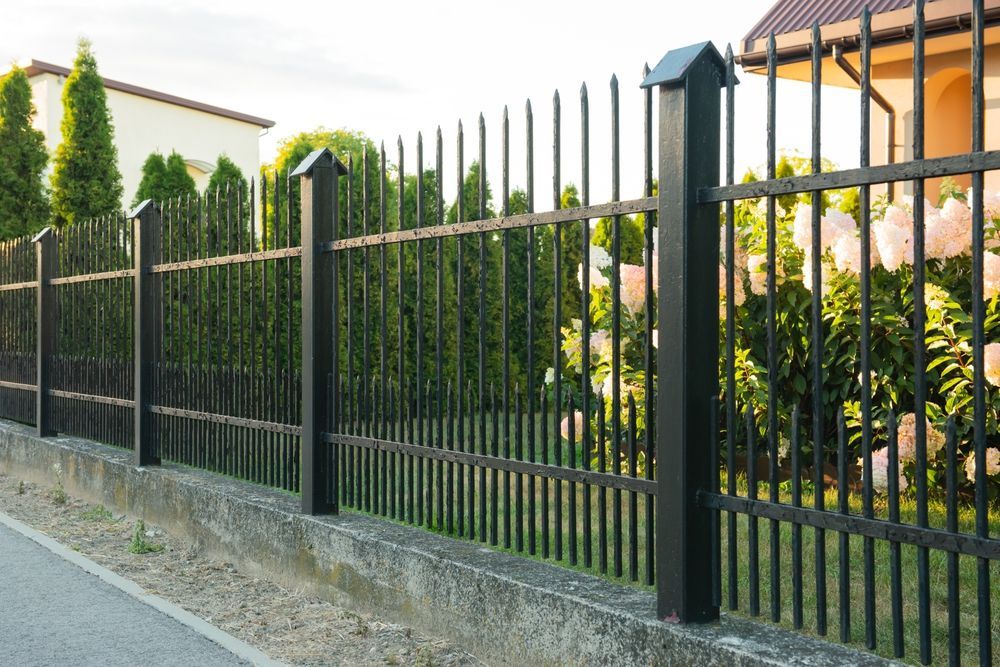
Vinyl fences come in multiple styles to match property aesthetics and function. Picket fences suit shorter front yard areas and offer a classic appearance.
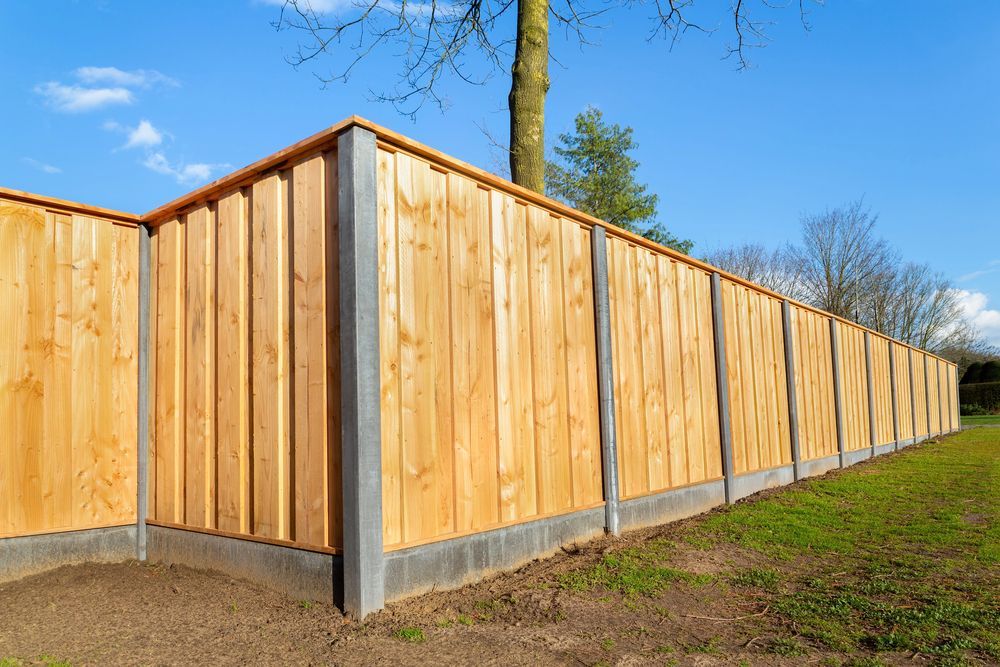
Ranch-style rail fences use horizontal rails instead of vertical pickets for a low-profile look. Privacy fences remain a common choice and create a secure and secluded area. Each style affects spacing, panel size, and post placement.
Contacting Utility Companies
Before digging post holes, contact local utility services. Underground lines may be present on the property. Avoiding utility lines prevents damage, injury, and service interruptions. Marked lines guide post placement safely, allowing the installation to proceed without hazard.
Measuring and Marking the Fence Line
Accurate measurements determine the fence’s alignment and spacing. Place temporary stakes at corner posts, end posts, or gate locations. Tie a mason’s line between these stakes to guide placement.
Measure evenly along the line to mark post locations, usually spaced six to eight feet apart. Use the 3–4-5 rule to confirm squared corners. Reviewing the layout visually ensures a straight, level path before digging begins.
Digging Post Holes
Post holes must have the correct depth and width for stable support. Dig to one-third of the post’s height or below the frost line if applicable. The width should be about three times the post’s thickness to allow space for concrete. Slightly sloping the bottom of each hole promotes drainage.
For multiple holes, a power auger speeds up the process and reduces strain. Using a tarp around the digging area keeps the yard tidy and simplifies cleanup.
Setting and Leveling Posts
After digging, position each post accurately. Add two to four inches of gravel to the base for proper drainage.
Place the post upright, checking both faces with a level. Align with the string line, then brace temporarily with scrap boards for stability until concrete is poured. This method keeps posts straight throughout curing and panel installation.
Securing Posts with Concrete
Concrete anchors each post firmly for lasting strength. Mix the concrete to a smooth, pourable consistency. Pour it around the post slightly above ground level, then tap the surface to release air pockets.
Shape the top of the concrete so water drains away from the post. Recheck vertical alignment since wet concrete can shift weight. Let the concrete cure completely before attaching rails or panels to build a solid foundation.
Measuring and Cutting Panels
Panel measurements must match the spacing between posts. Measure both top and bottom of the opening, using the smaller dimension if differences exist. Subtract a quarter to half inch to allow clearance.
Mark the cut line and cut panels using a fine-tooth circular saw blade. Sand edges lightly to remove roughness. Accurate cutting prevents binding and ensures a snug fit, which supports the fence’s stability and appearance.
Installing the Bottom Rail
The bottom rail secures panels and sets the height for the fence. Align the rail with notches or brackets on terminal posts. Confirm the rail is level along its length, adjusting with small shims if necessary. Lock the rail using system-specific screws or clips to prevent movement.
For longer runs, use a scissor-jack or similar support under the center to maintain level placement, facilitating a precise installation without additional hands.
Attaching Panels to Posts
With the bottom rail in place, panels can be attached. Hook the bottom edge into the rail groove, centering between posts. Fasten the top corners with clips or screws to maintain vertical alignment. Check each panel with a level and make minor adjustments as needed.
For horizontal panels, stack boards using spacers for even gaps and verify level alignment periodically. Completing each section fully before moving to the next prevents gaps and misalignment.
Installing the Top Rail and Post Caps
The top rail ties the fence together, providing strength and a finished appearance. Snap or slide it onto the posts, confirming level across the run. Post caps seal the posts and protect them from moisture while hiding any imperfections.
Gently twisting or warming vinyl caps can improve fit. Properly installed top rails and caps enhance durability and maintain the fence’s visual appeal.
Professional Assistance
Our team can also manage commercial fencing projects for businesses in Columbus, GA, Auburn, AL, Opelika, AL, and Phenix City, AL.
At The Fence Doctor, we manage every step of vinyl fence installation. From planning and post placement to panel attachment and gate installation, we take pride in quality work and attention to detail.
Our local team works closely with homeowners to deliver a fence that meets both functional needs and aesthetic goals.